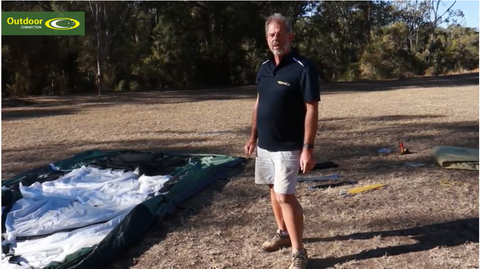
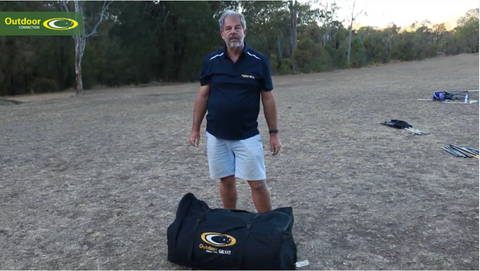
Sandy, the General Manager of Outdoor Connection, shows us how to set-up and pack up the Galaxy Tent!
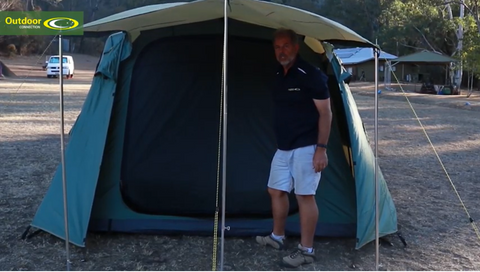
Australia’s premium quality family tent designed to maximise the enjoyment of your family holiday. The Galaxy offers space ‘out of this world’ with three extra large rooms and high roofline running the full length of the tent.
Transcript:
G'day I'm Sandy from Outdoor Connection. I'm going to show you today how to erect the Galaxy tent. One of our largest tents and the instructions for this are basically the same for the Galaxy Plus.
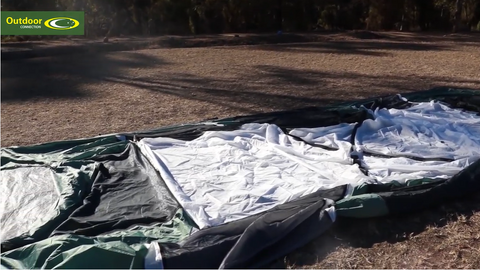
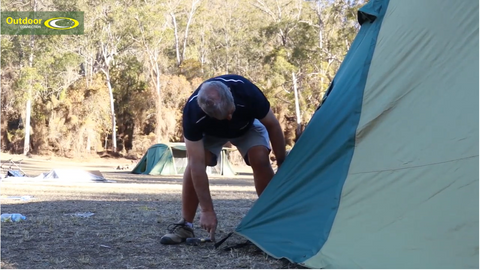
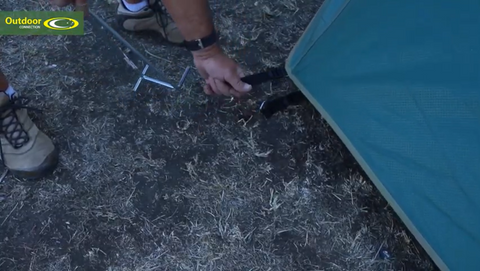
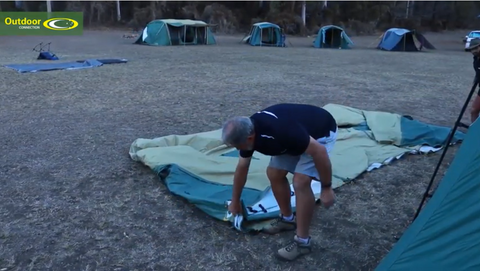
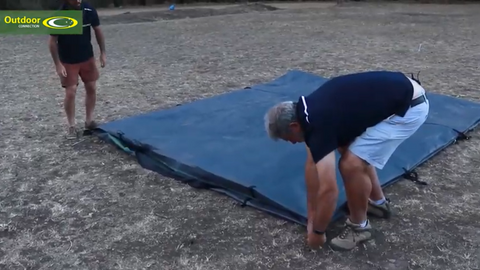
The first step after you've unrolled the tent, is to lay it out on the ground and peg out the four corners. Start at one end and make sure it's taut across. Go to the other end of the tent and pull it up along and make sure it's taut. Taut but not really tight. Once you've pegged out the corners, just peg out along both sides.
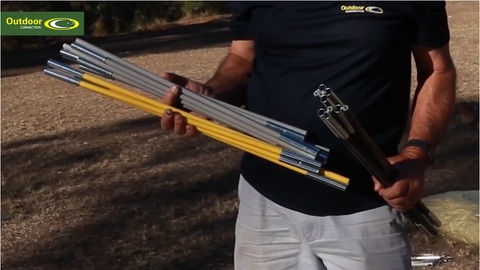
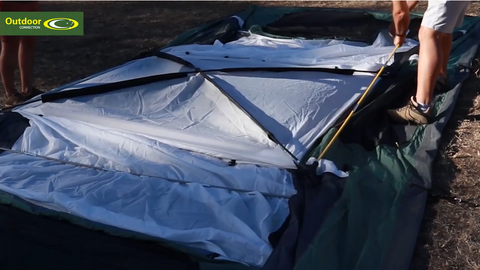
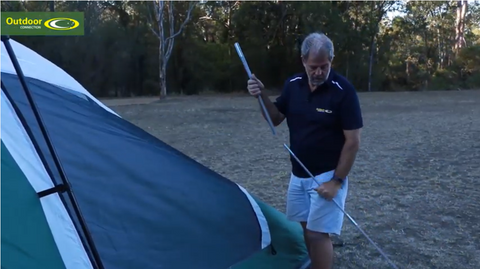
Next we'll be putting our fiberglass poles in there's two black poles two yellow and four grey. They're colour-coded to make it easier to set up the tent. Now we're going to slide the two black poles in first so, they're the cross poles, and you can tell which sleeve because the sleeves are black.
We use pole sleeves wherever we can with our tents, this is because it spreads the load over the whole seam and it gives a better structure and a stronger structure to the tent. Now put the pole into this yoke here. The one for the black pole is this middle one here, and this is your upright pole. Just slides in there and do the same at the other end.
Next we take the yellow poles and they run lengthways along the tent. Put them into this bracket again, bend it over and put it in the other end. Then put the clips on. The four grey poles go across the tent. One at each end and two on this square here. We'll do these first, and then clip it on, same for the other side.
So this is how the middle section should look now. The grey pole goes in the grey sleeve. It goes into this elbow, the elbow has a smaller hole and a larger hole the fibreglass pole goes into the smaller hole like that. So now we're putting the black steel poles together. These poles form the uprights for the sides. At one end there's a rubber cap with a small hole in it, that's the bottom of the pole.
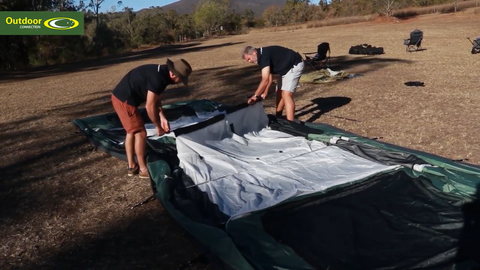
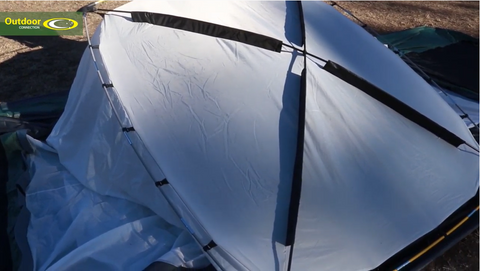
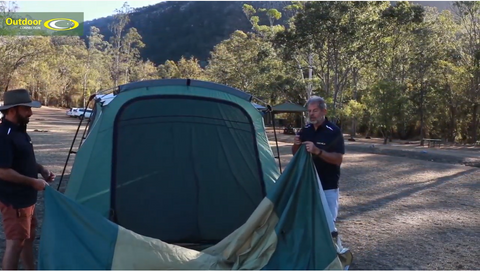
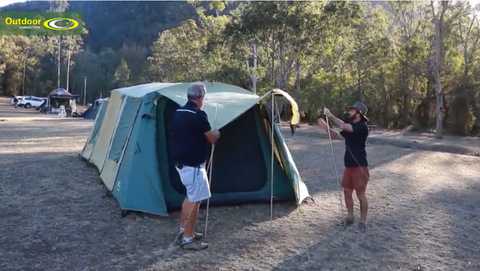
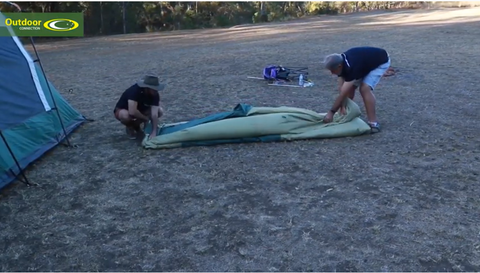
Put all the clip over of the steel poles to secure them. Okay the next step is to take the fly and drag it over the tent. It's pretty windy here today so we've laid out the fly lengthways and we'll drag it over the top. If you find the corners where the webbing straps are that's the best place to hold. So Josh and I are going to take it over the tent now.
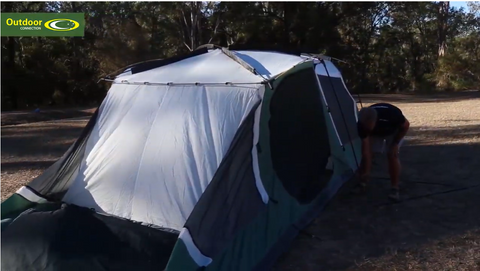
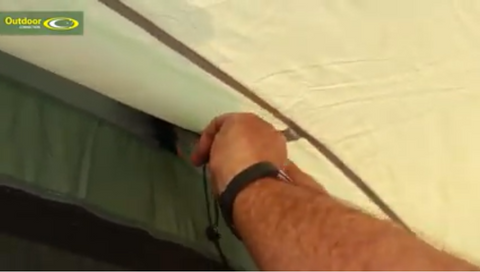
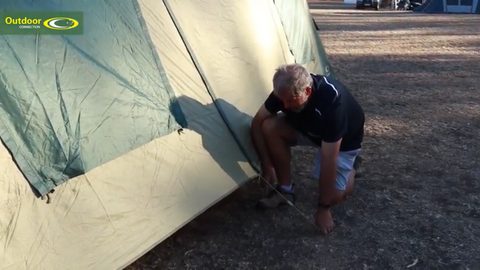
Position the fly so that this part here is at your top corner. Underneath the fly here and along each pole there's a tie, so the next step is to take the tie and tie it around the pole and that secures the fly to the tent. Now we're ready to peg out the fly. Peg out the corners first and then you can fill in along the sides. Start about seven to 10 cm out from the last peg.
You can tension it if it's necessary by that strap. When you peg out from the other end, pull the tent nice and taut and peg it down. You can use this strap to tension it if need be. Doing it this way ensures that the side of the tent is in the right position when we're pegging it out. What I'm going to show you now, is how to set up the end door as an awning.
We use three poles for this and that gives a little pitch to allow the rain to run off if necessary. We've already put the pegs in because it's pretty windy today so, set it up there like that, slide up your cord lock. It's best if the two side poles are slightly lower than the centre pole.
There's a Velcro tab up under here as well that you can put onto the tent and we use this clip here to tension the fly, that just takes some of the sag out of it. The sidewall of the galaxy is made up of three separate panels, and they can be pegged out completely as one whole long side wall or individually if you like as well.
Another feature of the galaxy are these little short guy ropes at the bottom of the sidewalls. These allow you to peg it out like that, and that gives you a flow of air down low into the tent.
Now we're going to show you how to pack up the tent. First thing, make sure all the doors and windows are open slightly, particularly at the bottom, that just allows the air to get out more easily.
For the fly however, make sure you do up all the doors and windows it's easier to fold and it also makes it easier to set up the tent next time. Now we're going to pull out all the pegs from the fly, undo the ties at the top of the corner, and take the fly off. We're using the Outdoor Connection Peg Puller as it makes life much easier.
Now we're going to take the fly off. The best way to do that is to pull it off one of the long sides, because we want to fold it in half lengthways. This guy rope at the middle of door is a halfway point so we want to fold it in half along this line, so the best way is to grab that, and then continue pulling it up like that.
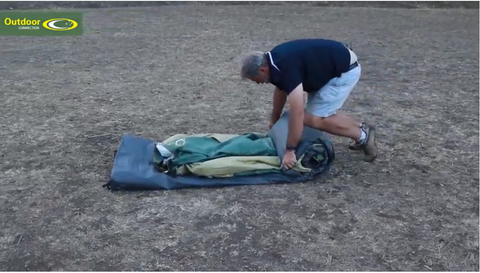
Once you've got it to there, take this big triangular piece and fold it over. So now we're going to take this right over the tent, and we'll fold it again. Now we've folded the fly into one long rectangle and that's how we'll roll it up, but make sure all the bottom of the fly is at one end, and we'll roll to that end and push the air out as we go.
Next, we'll remove the steel poles and then the fibreglass poles. The best way to take a fibreglass pole out of the sleeve is to put it on the bend like that, that locks the ferrules, and it won't come apart as you pull it out. Now we'll remove all the side pegs but leave the corners until last.
So I've taken out the corner pegs now we're going to fold it in half, and we'll take out the last two pegs. It's a good idea if you've got a broom just give it a quick sweep get all the dirt off the floor of the tent, keeps your tent clean and tidy. Now we're going to fold it over a quarter into the middle, and the other side over into the middle, and then we'll fold it on top of itself again.
Now we take the folded fly and we lay it over on top of the tent. We're going to roll it up towards the open end of the inner tent and the open end of the fly. As we roll it up towards the end there it pushes all the air out and you get a nice tight roll.
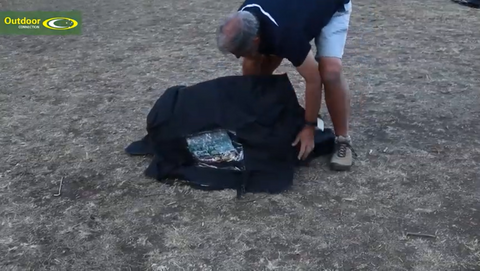
The best way to put the tent into the carry bag is to place the bag upside down and over the tent and then roll it up. The oversize carry bag makes this job easy. There's also another carry bag for all your poles and pegs.
That's how you set up and pack down a Galaxy tent. Check out all our products on our website, and until next time, happy camping!


